Saturday, September 18, 2010

Lazy Saturday!!!!

We have just spent the day being lazy and watching football. I have continued working on my quilt I have 4/12 rows finished. UGH its time consuming and monotonous work but its exciting every time you see another piece go together it makes me keep going. Tonight we are going to go hang out with friends to watch some of the football games. We are a house divided. DH went to the University of South Carolina and I have been a Clemson fan all my life so we will be watching the USC vs Furman game and the Clemson vs Auburn game tonight. I am starting to get excited about Monday and starting my new job hope all goes well with it.
Thanks,
Mrs. Dyer

Monday, September 13, 2010

New Job AGIAN!!!!!!

OK so lets try this whole new job thing all over again. I have only been working part-time at the other job and while thats been OK and we are paying all of our bills. It really really helps when I work full time. This is a full time job making more money than my part-time job. I am excited they all seem very professional and its a very nice office. My quilt is coming along nicely I am about 7 hours in. Granted I only learned about a rotary cutter half way through so I really should not be that far in time wise but oh well its coming along now. Hopefully I can get far enough along in the next few days to actually post a few pictures. Enjoy your week.
Thanks,
Mrs. Dyer

Thursday, September 9, 2010

Quilt!

Sorry that I have been a bad blogger. Things have been really busy. We went camping for labor day weekend with my inlaws. We had a lot of fun and Riley learned to swim. It was a great accomplishment for her, since she has always been afraid of water. Anyways, I am starting my first quilt today. Its going to be a fall quilt. Hopefully I can get it finished before we get to far into fall. Its going to be a simple block quilt. Well I am off to start cutting, theres a lot to cut. Have a great day.
Thanks,
Mrs. Dyer

Saturday, August 14, 2010

Create a Critter Card Set

This cartridge is so much fun. I didn't really have the paper colors that i wanted to make diffrent critters but I had black so I made a few. I bought this cartridge several months ago and I am just now getting to play with it. It of course as most things do make me wish I had an expression so I could make it bigger and place more paper on the mat, but all and all I just love this cartridge. If you haven't used this cartridge yet its super super easy. Its nothing like the Disney cartridges that have tons of little pieces and lots of layers. Hope you enjoy the card set that I made.
These are the Critters that I used
Turtle
Cow
Zebra
Penguin
Dragonfly
Thanks,
Mrs. Dyer

Card for a friend!

This is a card that I made to send to a friend to just say hi. I just wanted to show you all how simple a card can be and still brighten someones day. I love getting homemade cards, I know that person took the time to sit down and make it for me. Hope you all like it. The flower is from the create a critter cartridge (my new fave making an apperance in my next post as well). The ribbon is Stampin' Up! Chocolate Chip grograin ribbon. The sentiment is also a Stampin' Up stamp the set is tiny thoughts (I think).


Thanks,
Mrs. Dyer

HAPPY BIRTHDAY TO ME!!!!!!


I know I am a little behind on my blogs but this week has been a little CRAZY!!!!! Job is still all over the place. I am working more but it kinda on an as needed basis so I have to be ready at a moments notice so its been hard to get things together to blog. ANYWAYS........... My birthday was Monday. DH took me to my favorite Japanese restaurant on Sunday since its pretty far from our house. On Monday we made dinner and had cake slices from Publix. He forgot to get me a card so he said he had to run up to his office real fast but I could here him in my craft room. I thought it was sweet but in the back of my mind I was thinking please dont use any expensive paper. He didnt and the card turned out adorable. Of course after he gave me the card he then informed me that I needed to help him clean up. It was still so sweet and I will have it forever. Hope everyone is enjoying there weekend. I will try to get a project posted tonight.

Here is DH's Card


Thanks,
Mrs. Dyer


Thursday, August 5, 2010

Criss Cross Card

This card is so super easy and is really great for all sorts of things. People will think you spent so much time and money on something that is so totally easy. This card is great for Christmas cards or invitations for any sort of event.

These are the supplies you will need:

· Two 4 1/4" x 11" pieces of cardstock for your card base

· One 4" x 5" piece of patterned paper

· One 3 3/4" x 5 1/4" piece of cardstock for insert

· One 3 1/2" x 4 3/4" piece of neutral cardstock for insert

· One 1 1/2" x 12" piece of colored cardstock for card band

· Ink

· Stamps

· Adhesive

· More paper for accents

· Corner rounder

· Embellishments

1. Score both base pieces at 5 1/2 inches.

2. Take one scored piece and cut it diagonally from center top to the bottom left. Take the other piece of scored cardstock and cut diagonally from center top to bottom right.

3. Cut the patterned paper in half. The things you need list says one 4" x 5" you really just need the halves I like to have a little variation so that's why I used different patterns.

4. Take the two bases and adhere them together. Add adhesive to the middle square and stick them together so that you have a center square and two outside triangles.
5. Use mono adhesive to add the 2 halves that you just cut to the triangles.
6. Now add mono adhesive to the bottom of the square and to the bottom of the left triangle and a few inches up on the triangle.
7. Now fold everything the halves together so that we create a pocket to put our insert in.
8. Now we will use the colored cardstock base and the neutral cardstock to create the insert. You will just adhere the neutral paper to the cardstock. I used my corner rounder to get a decorative corner but you can add any personal touch you like.
9. Now we are on to the band that goes around the card. I folded mine around and taped it together but you could also adhere it directly to the card so that it doesn't move.
10. Now you can add you final touches. I added a flower and a sentiment to my insert and a ribbon to the base of the card.
Hope you enjoy this card and will share it with your friends.
Hope everyone had a great week. I have been working part time some this week so hopefully things are getting better. I have enjoyed being home to do things around the house and have a little more craft time. I hope to have another project done this weekend. I am so excited my Birthday is MONDAY!!!!!! Hope everyone has a great weekend.
Thanks,
Mrs. Dyer

Tuesday, August 3, 2010

Accordion Style Card Holder

So since I have a lot of free time on my hands at home I have been doing a little crafting. This is a gift that I made for my mom. It’s a card holder that has 3 different sections for her to put her cards that she makes in them. I also made a few note cards for her to send out. Hope she enjoys. It was really really easy to make. I didn’t take a picture of every step since I didn’t know if it would work out but I will post the steps.

Here are the supplies that you need

· One 6" x 12" piece of patterned paper

· One 4" x 6" piece of patterned paper

· Two 3 3/4" x 4" pieces of patterned paper

· Three 4" x 6" pieces of white cardstock(I used patterned paper)

· Three 1 3/4" white cardstock circles

· One 2" x 6" piece of patterned paper

· Scor-Pal™, or other scoring tool

· Scor-Tape™, or other strong adhesive

· Decorative border punch, optional

· Ribbon

1. Score the 6” x 12” patterned paper piece at 4-1/2”, 6-1/2” and 11”, creating the base.

2. Score the 4” x 6” Patterned Paper piece at 2”. Use a decorative edge punch on one end if desired. Attach this piece along the scored 1” section of the base with Scor-Tape™.

3. Score the 3-3/4" x 4" patterned paper piece every 1/2" across the 4” side.

4. Crease scored lines well and attach accordion pieces to the sides of the base. Take care to line up right along the edges of each panel.

5. To add the ribbon, put Scor-Tape™ on the seam underneath the top flap, and attach the ends of the ribbons, about 1-1/2” from each end. Adhere the 2” x 6” patterned paper piece to cover the seam and ends of the ribbons

6. Label circles and adhere to the backs of the 4” x 6” cardstock pieces. Insert into the accordion slots.

Finished Product


Finished product


Inside of the box

  • closed
  • Note Cards for my mom
  • Inside the box
  • The best helper ever

Update on the Job

So my new boss called Sunday night at 9:45 pm to let me know that she didn't realize how many hours I had been working and that she just couldn't afford to pay me full time. I am really sad about this. It hasn't been an easy process trying to find a job and I am so shocked that I have to start this process all over. So wish me luck that I find something new quickly!!!!!
Thanks,
Mrs. Dyer

Tuesday, July 20, 2010

New JOB!!!!!!!

I am so so so excited about my new job!!!!!!! I am really excited to be with these new ladies!!! They all seem really fabulous and I cant wait to really sink my hands in and learn what I need to do. I am so happy that I only went a week without a job. I hate that I had a horrible experience with my previous job but my new job is going to be GREAT!!!!!!!!

Monday, July 19, 2010

Riley Graduated from Intermediate Class tonight!!!!

Riley had her final lesson of her intermediate training tonight. She passed with flying colors. She can now walk on a leash, Heal, Sit and Stay, Lay Down and Stay, Go to her bed, Stand and many more commands. I am so proud of her. I have throughly enjoyed her training. It makes me so happy to know that our dog we a well trained puppy and she is so great. Here are some of her pictures from graduation.

Photobucket
My Sweet Sweet baby!!!!!

Photobucket
She did so great. She wasnt a fan of wearing the hat, but I am still so so proud of her!!!!!!!!!!!

Saturday, July 10, 2010

Recovering!!!

I am finally recovering from my laparoscopy that I had done on Wednesday. Its been a pretty slow recovery process. I find myself trying to get up and do stuff and then I get worn out pretty quickly. I haven't really eaten much and was very nauseas yesterday. The doctor said he found about 5 spots of endometriosis and he told me a few other things but I was pretty out of it and my husband and father were there with me and the doctor didnt tell them much (or they just didnt listen) We have a follow up appointment Wednesday. Hopefully that will answer our questions and we will be able to find out something. I hope he will tell us what we need to do from here.
Thanks for Listening,
Mrs. Dyer

Friday, July 2, 2010

Lake for the 4th!!!!

We are headed off to GA in the morning to spend the weekend with my Husbands family. His Uncle owns a house on lake Hartwell and we try to go at least once a summer. Its always so much fun to go and hang out and be on the water. Since we moved away from the beach we don't get to spend as much time on the water as we would like so I am very excited to get to go. Since we both LOVE LOVE water it will be fun to get out there and play. All though I am not looking forward to all the when are you having kids questions. (I will explain more later when we get home) Hopefully it will be a fun weekend and I will have lots of pics to scrap when we get home. Have a great Fourth of July and remember what it stands for and thank our men and women in the armed forces that give us the freedom everyday to enjoy great holidays like this one.
Love,
Mrs. Dyer

Sunday, June 27, 2010

Altered Picture Frame

I was really excited about this project it was really fun to make and so easy. I used our last name but you could certainly use a baby name or give it as a wedding gift or shower gift. I used a 10x20 frame but you could certainly use a different size. I will show you another one that I am making that is 8x10.
Go ahead and take the frame apart and throw away all the layers
Now pick a background paper. This paper I found at Michaels and of course its 12x12 so you have to put two pieces together I just used a little tape on the back. Don't worry about matching it perfectly you will cover it with your letters
I added a picture. I cut it down and then matted it to make it 4x6
Add the picture to your background. You could do anything here a quote or a date or any sentiment you choose
Cut the background for the letters. I made mine 4x5 since my last name is short I could make them a little bigger.
I cut my letters out using the cricut but you can cut your letters however you want.
Then attach them to your background blocks. I used my zig but you could use any sort of adhesive.
The measuring and centering is the hardest part. I was still a little off but Its close enough for me. Of course DH "the engineer" will probably notice once he looks a little closer.
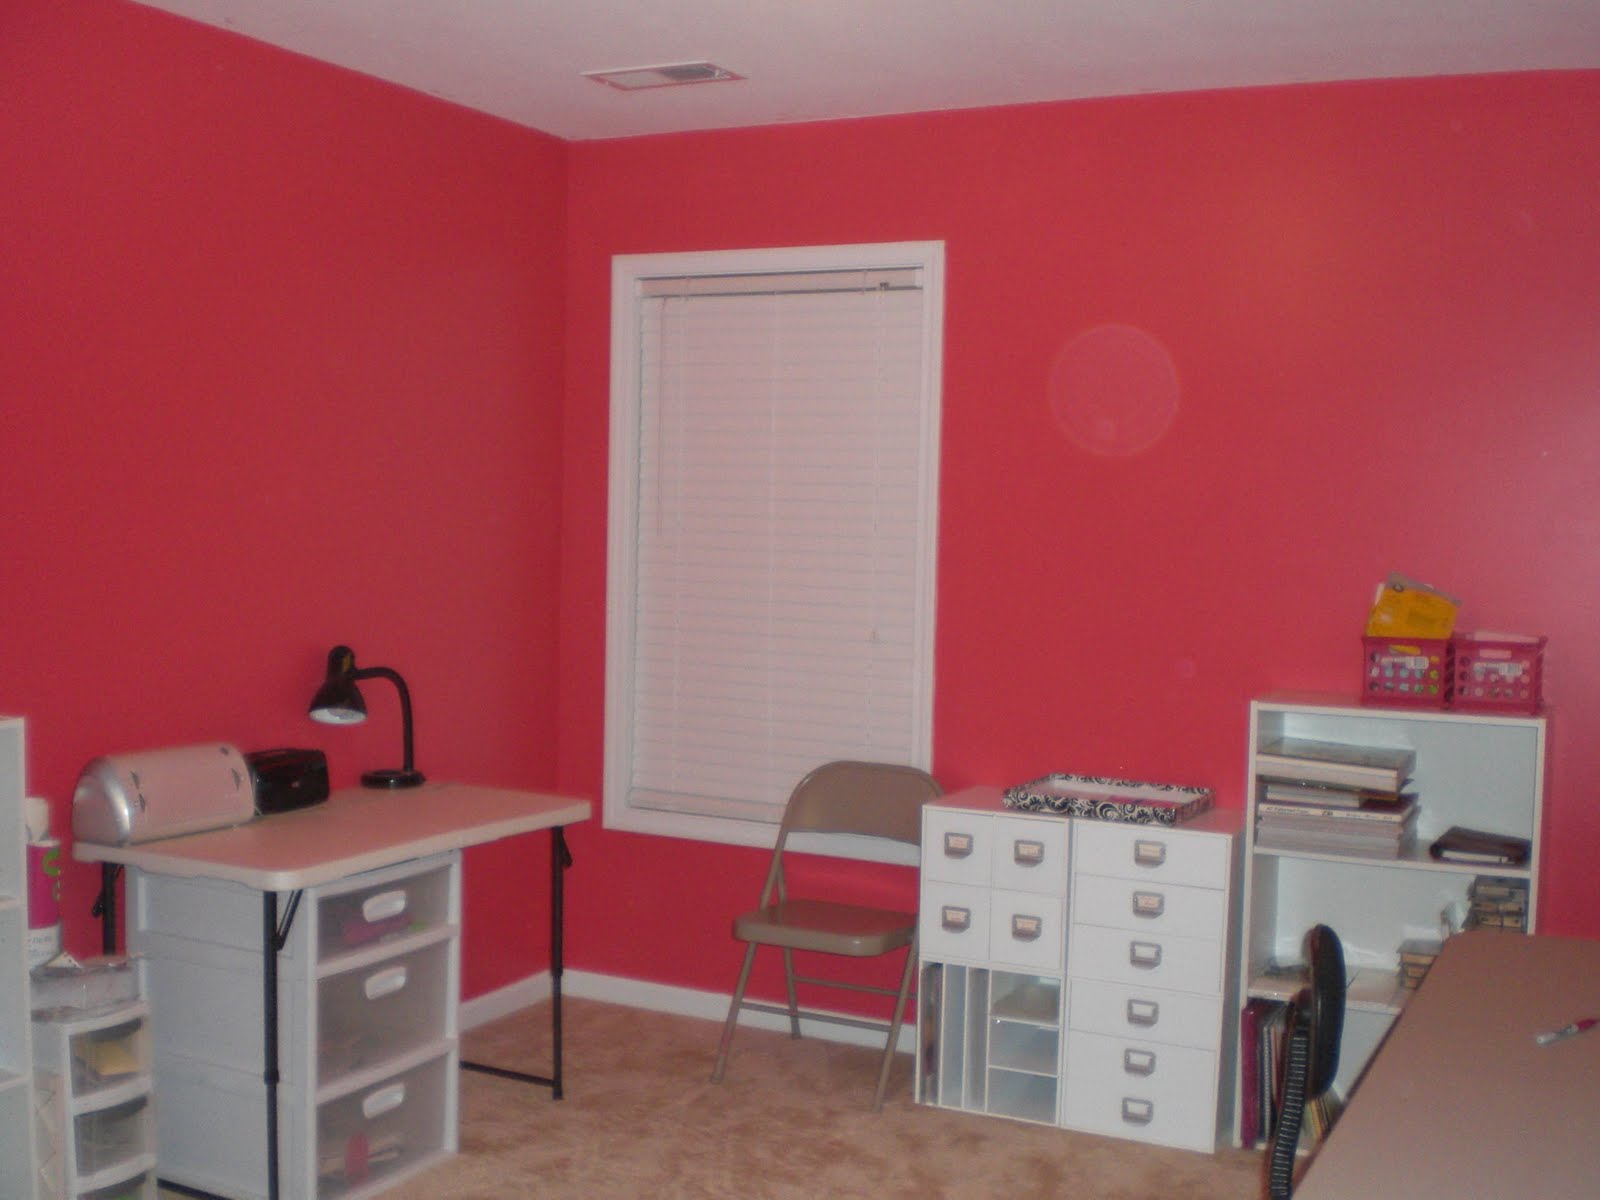
TADA!!! All done. Now to find a place to put it. This was super easy and super cheap. Its a cute way to add a personal touch to a room or a gift. Can't wait to show you the other things I have been working on.

Thanks,
Mrs. Dyer

Thursday, June 24, 2010

Craft Room!!!!!

Before we ever even bought the house I was dreaming of my craft room. I was so excited to have to get one. Since our house was built and not previously lived in, I got to come here almost every weekend and dream about what my craft room was going to look like. So once we bought the house that was project numero UNO!!!! Except the wedding was 3 weeks away so crafting was on hold. So the first weekend post honeymoon was spent working on this room. I will admit I am not the best painter and DH is an ENGINEER so hes a bit of a perfection (but also HATES to paint) so it was a challenge. The color is dragonfruit from Home Depot don't really remember the collection.
All of my Cricut Supplies and my Big Shot items and a few odd things
My Cricut cutting area and also my photo printer
Cricut cutting side of the room

The Room
Paper Storage (Not really fond of this but it works for now)
Storage for Stamps, Paper Pads, Stamp Pads and most all of my scrapbooking supplies
My Desk (Really need a better chair it hurts my back)

Sorry the pictures aren't that great battery was dead on my good camera and I really wanted this post up tonight. Cant wait to share with you all my many projects made in this craft room. First items to be made are things for the walls. Definitely going to put some vinyl on the walls.

Thank you,
Mrs. Dyer